ComicCreator
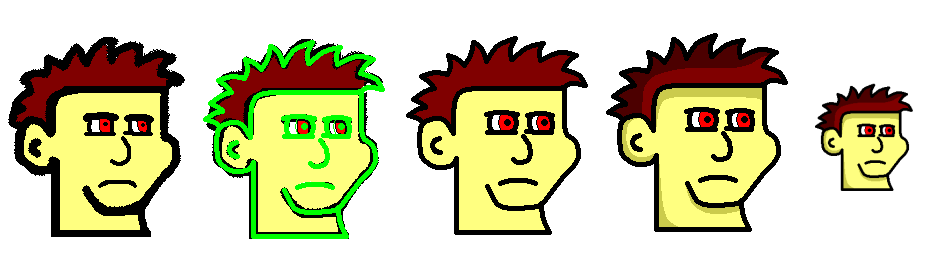
You just make the areas along the left and top darker. To do this I hand draw an area where the shading will go on the otherwise finished image, in a colour that isn't used anywhere else (such as bright green).
Then I remove everything but the green areas, fill everything else with another colour that hasn't already been used (say bright red), and use this as a template.
Next I darken the original image (in this case I used the built in Microsoft Photo Editor, you can also use photoshop or even darken by hand) and saved it under a different name.
Then you take the template, paste it over the darkened version of the image and remove the bright red areas with the unfill tool.
Finally you take what's left and paste it back over the top of the original.
TIP: removing crap- if you draw an outline over an image and want to remove everything but the outline this is what you do:
1) Make sure the outline is all one colour (and that it's a colour that's not used anywhere else in the image, and not black).
2) Use ctrl-a then ctrl-c to copy the whole image, paste it into a NEW paint window (make sure the canvas is smaller than the image- ctrl-e, 1, tab, 1, enter will take care of that).
3) Fill the new canvas with black, and paste the image back on (with 'draw opaque' turned off (image dropdown in paint).
4) Unfill the outline you drew earlier so it's white, then ctrl-e to open the attributes menu, highlight the puddle next to black and white and press enter (and confirm the message that pops up). Now you'll have a black image with a white outline. Use ctrl-i to invert the colours, Use ctrl-a then ctrl-c and copy the outline to a NEW paint window. (When you go to black and white it won't let you go back unless you paste to a new window).
---
Dinosaurs had eggs bro, the chicken came way later.


